Python | Распознавание лиц с использованием графического интерфейса
В этой статье упоминается довольно простой способ реализации системы распознавания лиц с использованием модуля Python и OpenCV, а также пошаговое объяснение кода в комментариях.
Перед началом нам нужно установить некоторые библиотеки, чтобы реализовать код. Ниже вы увидите использование библиотеки вместе с кодом для ее установки:
- OpenCV:
OpenCV (Open Source Computer Vision Library) - это библиотека программного обеспечения для компьютерного зрения и машинного обучения с открытым исходным кодом. который создан для обеспечения общей инфраструктуры для алгоритмов машинного обучения и компьютерного зрения. Он имеет тысячи оптимизированных алгоритмов, которые можно использовать для различных целей, таких как обнаружение и распознавание лиц, идентификация объектов и многое другое. Он нужен нам, чтобы делать снимки с помощью нашей веб-камеры, и с изображением нужно было произвести некоторые манипуляции.
Чтобы установить библиотеку, вам необходимо установить pip в свою систему, после чего вы можете выполнить шаги в командной строке:
Шаг 1:pip install opencv-python
Шаг 2:pip install opencv-contrib-python - NumPy:
NumPy - это фундаментальный пакет для научных вычислений в Python, который предоставляет объект многомерного массива, с его помощью можно выполнять другие математические операции, но, попросту говоря, он нужен нам просто для преобразования наших изображений в некоторую форму массива, чтобы мы могли хранить модель, которая имеет был обучен.Чтобы установить библиотеку, вы можете ввести простую строку кода в командной оболочке:
pip install numpy - Каскад Хаара:
Haar Cascade - это в основном классификатор, который используется для обнаружения объектов, для которых он был обучен, из источника. Результатом является XML-файл, в котором хранится обученный результат. Проще говоря, Каскад Хаара обучается путем наложения положительного изображения на набор отрицательных изображений. Для обучения требуется система с высокими техническими характеристиками, хорошее подключение к Интернету и тысячи обучающих изображений, поэтому оно проводится на сервере. Для повышения эффективности результатов используют качественные изображения и увеличивают количество этапов, на которые обучается классификатор. Нам нужен каскадный фронтальный распознаватель лиц для распознавания лица с нашей веб-камеры.
Чтобы скачать файлы haar casade различных объектов, перейдите по ссылке ниже:
GitHub: HaarCascades - Графический интерфейс Python (tkinter):
Tkinter - это простой модуль графического интерфейса, который используется для реализации довольно простого графического интерфейса и помогает нам легко взаимодействовать с кодом. Хотя для понимания кода вам не важно знать, как он работает.
Если вы хотите узнать больше о Tkinter, нажмите на ссылку ниже
Графический интерфейс Python - tkinter
Код: реализация Python для распознавания лиц с использованием графического интерфейса
# importing librariesimport tkinter as tkfrom tkinter import Message, Textimport cv2import osimport shutilimport csvimport numpy as npfrom PIL import Image, ImageTkimport pandas as pddatetime importtime importimport tkinter.ttk as ttkimport tkinter.font as fontfrom pathlib import Path window = tk.Tk()window.title( "Face_Recogniser" )window.configure(background = 'white' )window.grid_rowconfigure( 0 , weight = 1 )window.grid_columnconfigure( 0 , weight = 1 )message = tk.Label( window, text = "Face-Recognition-System" , bg = "green" , fg = "white" , width = 50 , height = 3 , font = ( 'times' , 30 , 'bold' )) message.place(x = 200 , y = 20 ) lbl = tk.Label(window, text = "No." ,width = 20 , height = 2 , fg = "green" ,bg = "white" , font = ( 'times' , 15 , ' bold ' ) )lbl.place(x = 400 , y = 200 ) txt = tk.Entry(window,width = 20 , bg = "white" ,fg = "green" , font = ( 'times' , 15 , ' bold ' ))txt.place(x = 700 , y = 215 ) lbl2 = tk.Label(window, text = "Name" ,width = 20 , fg = "green" , bg = "white" ,height = 2 , font = ( 'times' , 15 , ' bold ' ))lbl2.place(x = 400 , y = 300 ) txt2 = tk.Entry(window, width = 20 ,bg = "white" , fg = "green" ,font = ( 'times' , 15 , ' bold ' ) )txt2.place(x = 700 , y = 315 ) # The function beow is used for checking# whether the text below is number or not ?def is_number(s): try : float (s) return True except ValueError: pass try : import unicodedata unicodedata.numeric(s) return True except (TypeError, ValueError): pass return False# Take Images is a function used for creating# the sample of the images which is used for# training the model. It takes 60 Images of# every new user.def TakeImages(): # Both ID and Name is used for recognising the Image Id = (txt.get()) name = (txt2.get()) # Checking if the ID is numeric and name is Alphabetical if (is_number( Id ) and name.isalpha()): # Opening the primary camera if you want to access # the secondary camera you can mention the number # as 1 inside the parenthesis cam = cv2.VideoCapture( 0 ) # Specifying the path to haarcascade file harcascadePath = "datahaarcascade_frontalface_default.xml" # Creating the classier based on the haarcascade file. detector = cv2.CascadeClassifier(harcascadePath) # Initializing the sample number(No. of images) as 0 sampleNum = 0 while ( True ): # Reading the video captures by camera frame by frame ret, img = cam.read() # Converting the image into grayscale as most of # the the processing is done in gray scale format gray = cv2.cvtColor(img, cv2.COLOR_BGR2GRAY) # It converts the images in different sizes # (decreases by 1.3 times) and 5 specifies the # number of times scaling happens faces = detector.detectMultiScale(gray, 1.3 , 5 ) # For creating a rectangle around the image for (x, y, w, h) in faces: # Specifying the coordinates of the image as well # as color and thickness of the rectangle. # incrementing sample number for each image cv2.rectangle(img, (x, y), ( x + w, y + h), ( 255 , 0 , 0 ), 2 ) sampleNum = sampleNum + 1 # saving the captured face in the dataset folder # TrainingImage as the image needs to be trained # are saved in this folder cv2.imwrite( "TrainingImage " + name + "." + Id + '.' + str ( sampleNum) + ".jpg" , gray[y:y + h, x:x + w]) # display the frame that has been captured # and drawn rectangle around it. cv2.imshow( 'frame' , img) # wait for 100 miliseconds if cv2.waitKey( 100 ) & 0xFF = = ord ( 'q' ): break # break if the sample number is more than 60 elif sampleNum> 60 : break # releasing the resources cam.release() # closing all the windows cv2.destroyAllWindows() # Displaying message for the user res = "Images Saved for ID : " + Id + " Name : " + name # Creating the entry for the user in a csv file row = [ Id , name] with open ( 'UserDetailsUserDetails.csv' , 'a+' ) as csvFile: writer = csv.writer(csvFile) # Entry of the row in csv file writer.writerow(row) csvFile.close() message.configure(text = res) else : if (is_number( Id )): res = "Enter Alphabetical Name" message.configure(text = res) if (name.isalpha()): res = "Enter Numeric Id" message.configure(text = res) # Training the images saved in training image folderdef TrainImages(): # Local Binary Pattern Histogram is an Face Recognizer # algorithm inside OpenCV module used for training the image dataset recognizer = cv2.face.LBPHFaceRecognizer_create() # Specifying the path for HaarCascade file harcascadePath = "datahaarcascade_frontalface_default.xml" # creating detector for faces detector = cv2.CascadeClassifier(harcascadePath) # Saving the detected faces in variables faces, Id = getImagesAndLabels( "TrainingImage" ) # Saving the trained faces and their respective ID's # in a model named as "trainner.yml". recognizer.train(faces, np.array( Id )) recognizer.save( "TrainingImageLabelTrainner.yml" ) # Displaying the message res = "Image Trained" message.configure(text = res) def getImagesAndLabels(path): # get the path of all the files in the folder imagePaths = [os.path.join(path, f) for f in os.listdir(path)] faces = [] # creating empty ID list Ids = [] # now looping through all the image paths and loading the # Ids and the images saved in the folder for imagePath in imagePaths: # loading the image and converting it to gray scale pilImage = Image. open (imagePath).convert( 'L' ) # Now we are converting the PIL image into numpy array imageNp = np.array(pilImage, 'uint8' ) # getting the Id from the image Id = int (os.path.split(imagePath)[ - 1 ].split( "." )[ 1 ]) # extract the face from the training image sample faces.append(imageNp) Ids.append( Id ) return faces, Ids# For testing phasedef TrackImages(): recognizer = cv2.face.LBPHFaceRecognizer_create() # Reading the trained model recognizer.read( "TrainingImageLabelTrainner.yml" ) harcascadePath = "datahaarcascade_frontalface_default.xml" faceCascade = cv2.CascadeClassifier(harcascadePath) # getting the name from "userdetails.csv" df = pd.read_csv( "UserDetailsUserDetails.csv" ) cam = cv2.VideoCapture( 0 ) font = cv2.FONT_HERSHEY_SIMPLEX while True : ret, im = cam.read() gray = cv2.cvtColor(im, cv2.COLOR_BGR2GRAY) faces = faceCascade.detectMultiScale(gray, 1.2 , 5 ) for (x, y, w, h) in faces: cv2.rectangle(im, (x, y), (x + w, y + h), ( 225 , 0 , 0 ), 2 ) Id , conf = recognizer.predict(gray[y:y + h, x:x + w]) if (conf < 50 ): aa = df.loc[df[ 'Id' ] = = Id ][ 'Name' ].values tt = str ( Id ) + "-" + aa else : Id = 'Unknown' tt = str ( Id ) if (conf > 75 ): noOfFile = len (os.listdir( "ImagesUnknown" )) + 1 cv2.imwrite( "ImagesUnknownImage" + str (noOfFile) + ".jpg" , im[y:y + h, x:x + w]) cv2.putText(im, str (tt), (x, y + h), font, 1 , ( 255 , 255 , 255 ), 2 ) cv2.imshow( 'im' , im) if (cv2.waitKey( 1 ) = = ord ( 'q' )): break cam.release() cv2.destroyAllWindows() takeImg = tk.Button(window, text = "Sample" ,command = TakeImages, fg = "white" , bg = "green" ,width = 20 , height = 3 , activebackground = "Red" ,font = ( 'times' , 15 , ' bold ' ))takeImg.place(x = 200 , y = 500 )trainImg = tk.Button(window, text = "Training" ,command = TrainImages, fg = "white" , bg = "green" ,width = 20 , height = 3 , activebackground = "Red" ,font = ( 'times' , 15 , ' bold ' ))trainImg.place(x = 500 , y = 500 )trackImg = tk.Button(window, text = "Testing" ,command = TrackImages, fg = "white" , bg = "green" ,width = 20 , height = 3 , activebackground = "Red" ,font = ( 'times' , 15 , ' bold ' ))trackImg.place(x = 800 , y = 500 )quitWindow = tk.Button(window, text = "Quit" ,command = window.destroy, fg = "white" , bg = "green" ,width = 20 , height = 3 , activebackground = "Red" ,font = ( 'times' , 15 , ' bold ' ))quitWindow.place(x = 1100 , y = 500 ) window.mainloop() |
Пример изображения графического интерфейса: 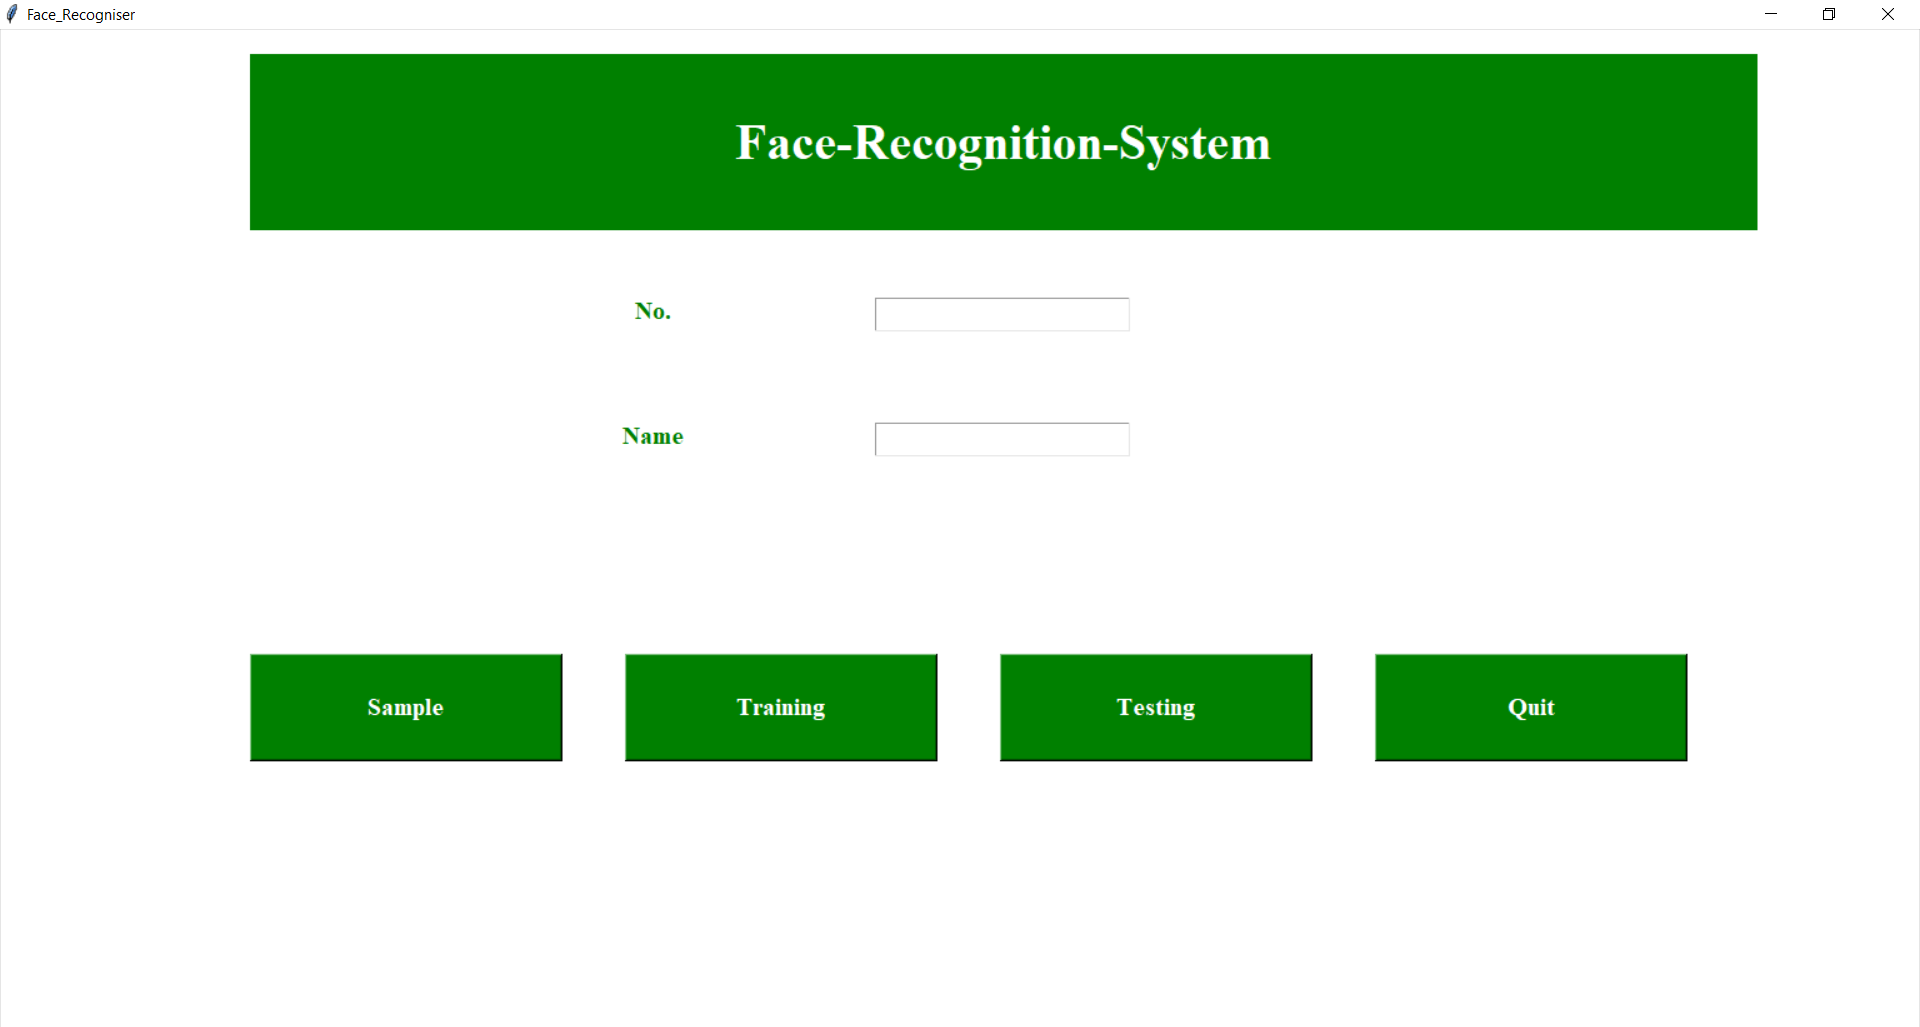
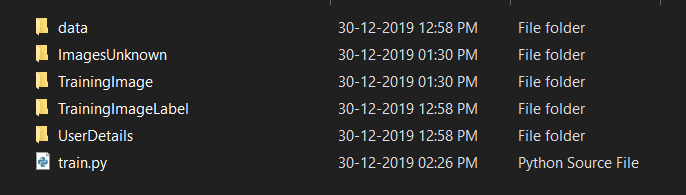
Структура папки Для справки: