Как разработать оконный менеджер с помощью плагина jQuery Simone?
В этой статье мы научимся создавать оконный менеджер с помощью плагина Simone, который полностью основан на HTML, JavaScript и jQuery. Он предоставляет одностраничные приложения с простыми функциями, аналогичными настольным.
Загрузите предварительно скомпилированные файлы с официального сайта перед следующей реализацией кода. Пожалуйста, позаботьтесь о правильных путях к файлам в каталоге вашего проекта.
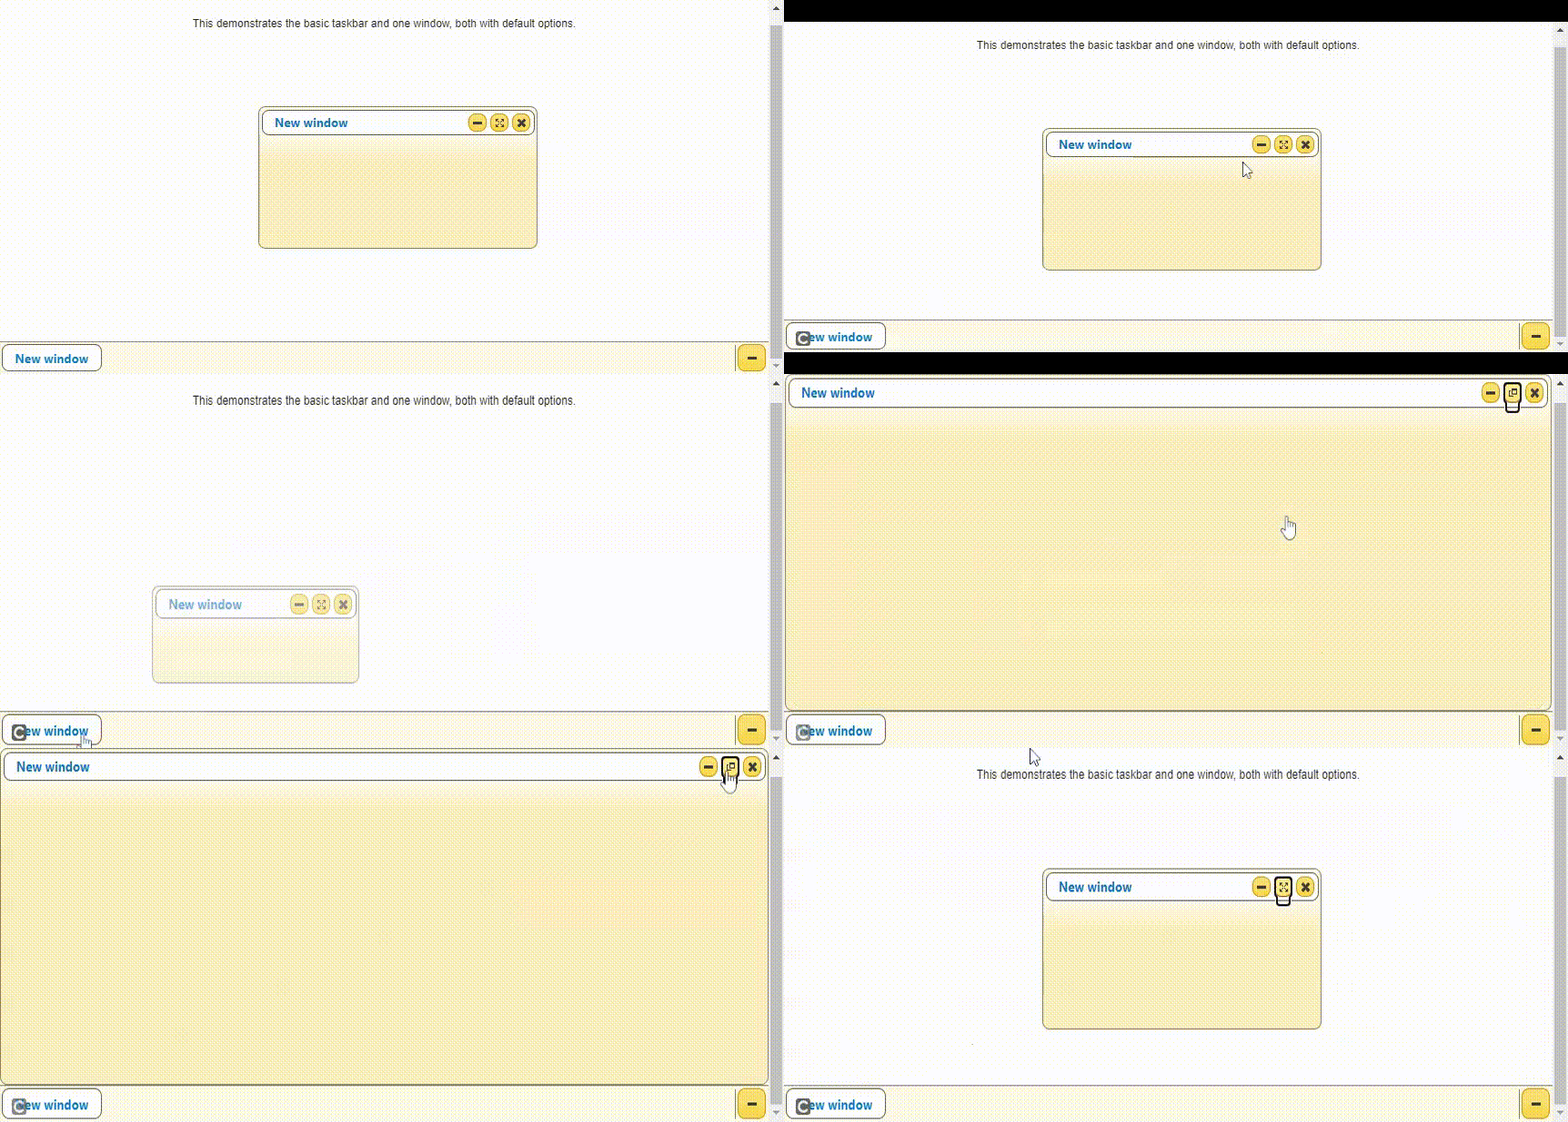
Пример 1. Следующий код демонстрирует базовую панель задач с окном с параметрами по умолчанию.
HTML
<!DOCTYPE html>< html > < head > < meta charset = "UTF-8" > < script src = "../common/libs.js" ></ script > < style > p { padding: 20px 20px; } </ style ></ head > < body class = "no-top-bar" > < script class = "demo-js" > $(document).ready(function () { "use strict"; // Taskbar has to be created first $(".taskbar").taskbar(); // Window is binded to taskbar widget, // so it has to be created second $(".window").window(); }); </ script > < div class = "demo-html" > < div class = "taskbar" ></ div > < div class = "window" ></ div > < div class = "demo" > < div class = "description" > < p style = "text-align:center" > This demonstrates the basic taskbar and one window, both with default options. </ p > </ div > </ div > </ div ></ body > </ html > |
Выход:

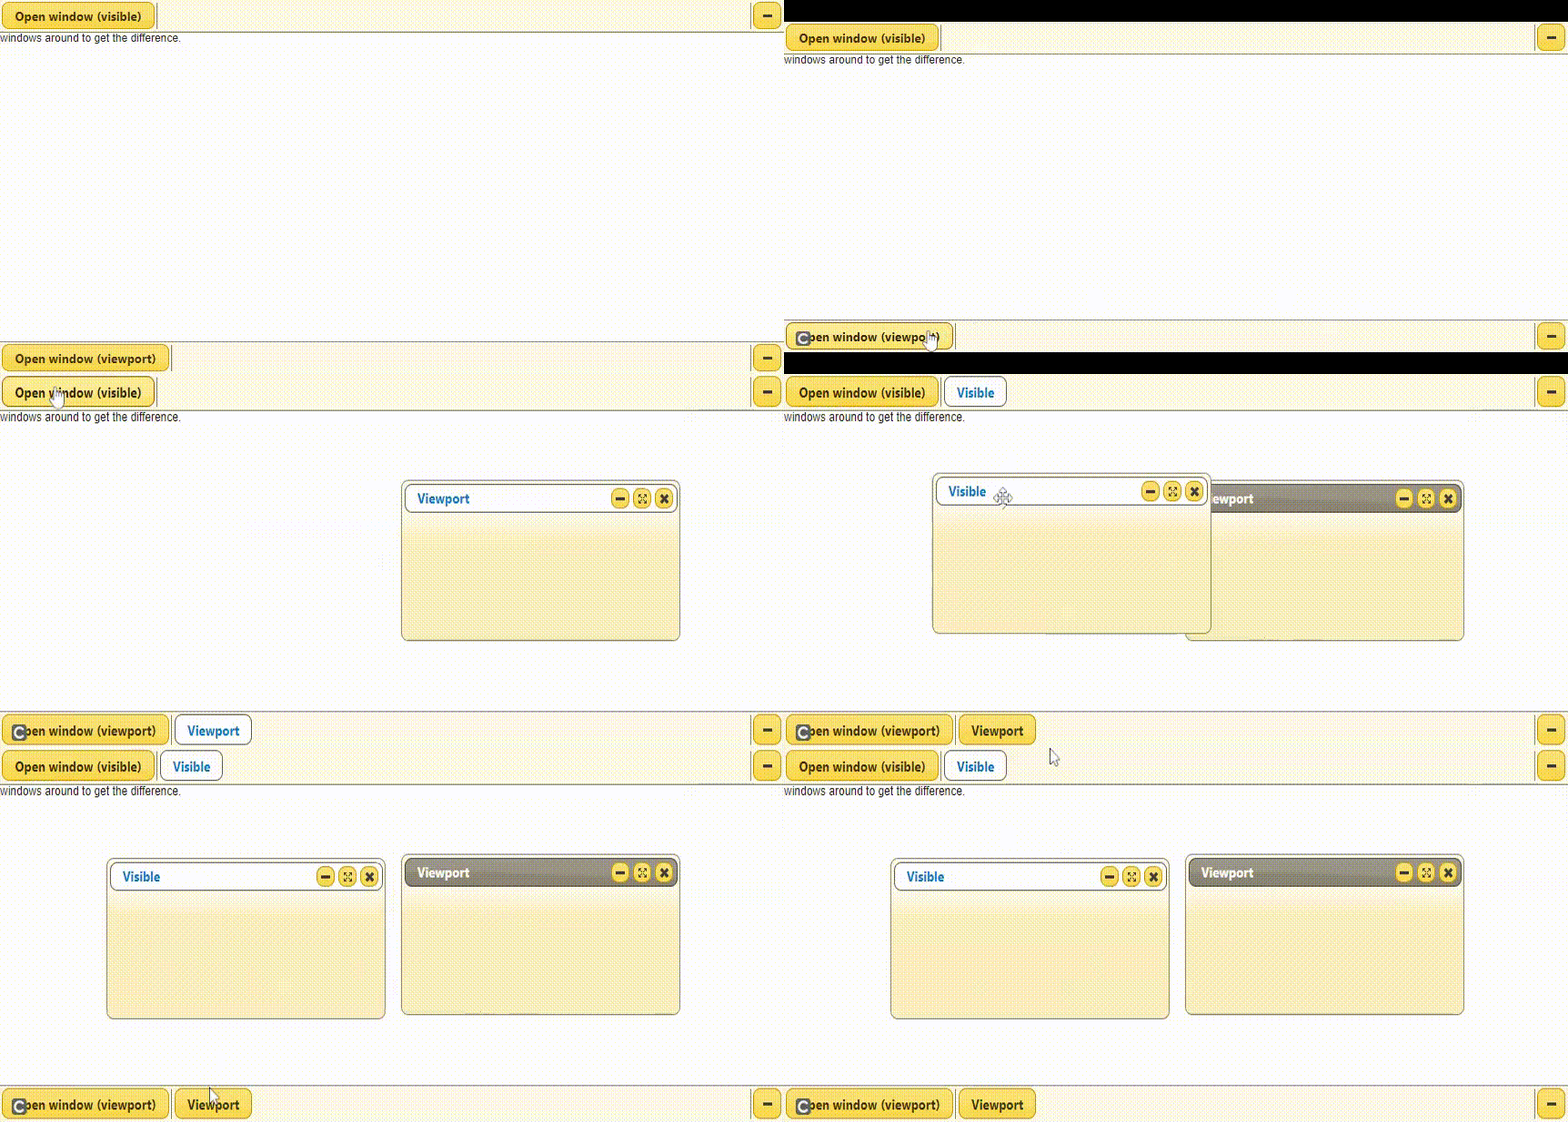
Пример 2: Следующий код демонстрирует, что для удержания окна установлено значение «viewport» и «visible». Обратитесь к выходу с изменением размера и перетаскиванием окон.
HTML
<!DOCTYPE html>< html > < head > < meta charset = "UTF-8" > < script src = "../common/libs.js" ></ script ></ head > < body class = "no-top-bar" > < script class = "demo-js" > $(document).ready(function () { "use strict"; // Create first taskbar var $taskbar = $(".taskbar").taskbar({ windowsContainment: "viewport", buttons: { openWindow: { label: "Open window (viewport)" } }, buttonsOrder: ["openWindow"] }); // Bind events to taskbar window opener var $taskbarOpen = $(".taskbar") .taskbar("option", "buttons.openWindow") // Get jQuery object of the button created .$element .on("click", function () { $("< div ></ div >") .window({ taskbar: $taskbar, title: "Viewport" }); }); // Create second taskbar var $taskbar2 = $(".taskbar2").taskbar({ windowsContainment: "visible", horizontalStick: "top left", buttons: { openWindow: { label: "Open window (visible)" } }, buttonsOrder: ["openWindow"] }); // Bind events to second taskbar window opener var $taskbarOpen = $taskbar2 .taskbar("option", "buttons.openWindow") // Get jQuery object of the button created .$element .on("click", function () { $("< div ></ div >") .window({ taskbar: $taskbar2, title: "Visible" }); }); }); </ script > < div class = "demo-html" > < div class = "taskbar" ></ div > < div class = "taskbar2" ></ div > < div class = "demo" > < div class = "description" > Window containment describe boundaries in which window exists. There are windowsContainment and containment. Windows on the top taskbar has "containment" set to "viewport", and the bottom taskbar has "containment" set to "visible". </ div > </ div > </ div ></ body > </ html > |
Выход:

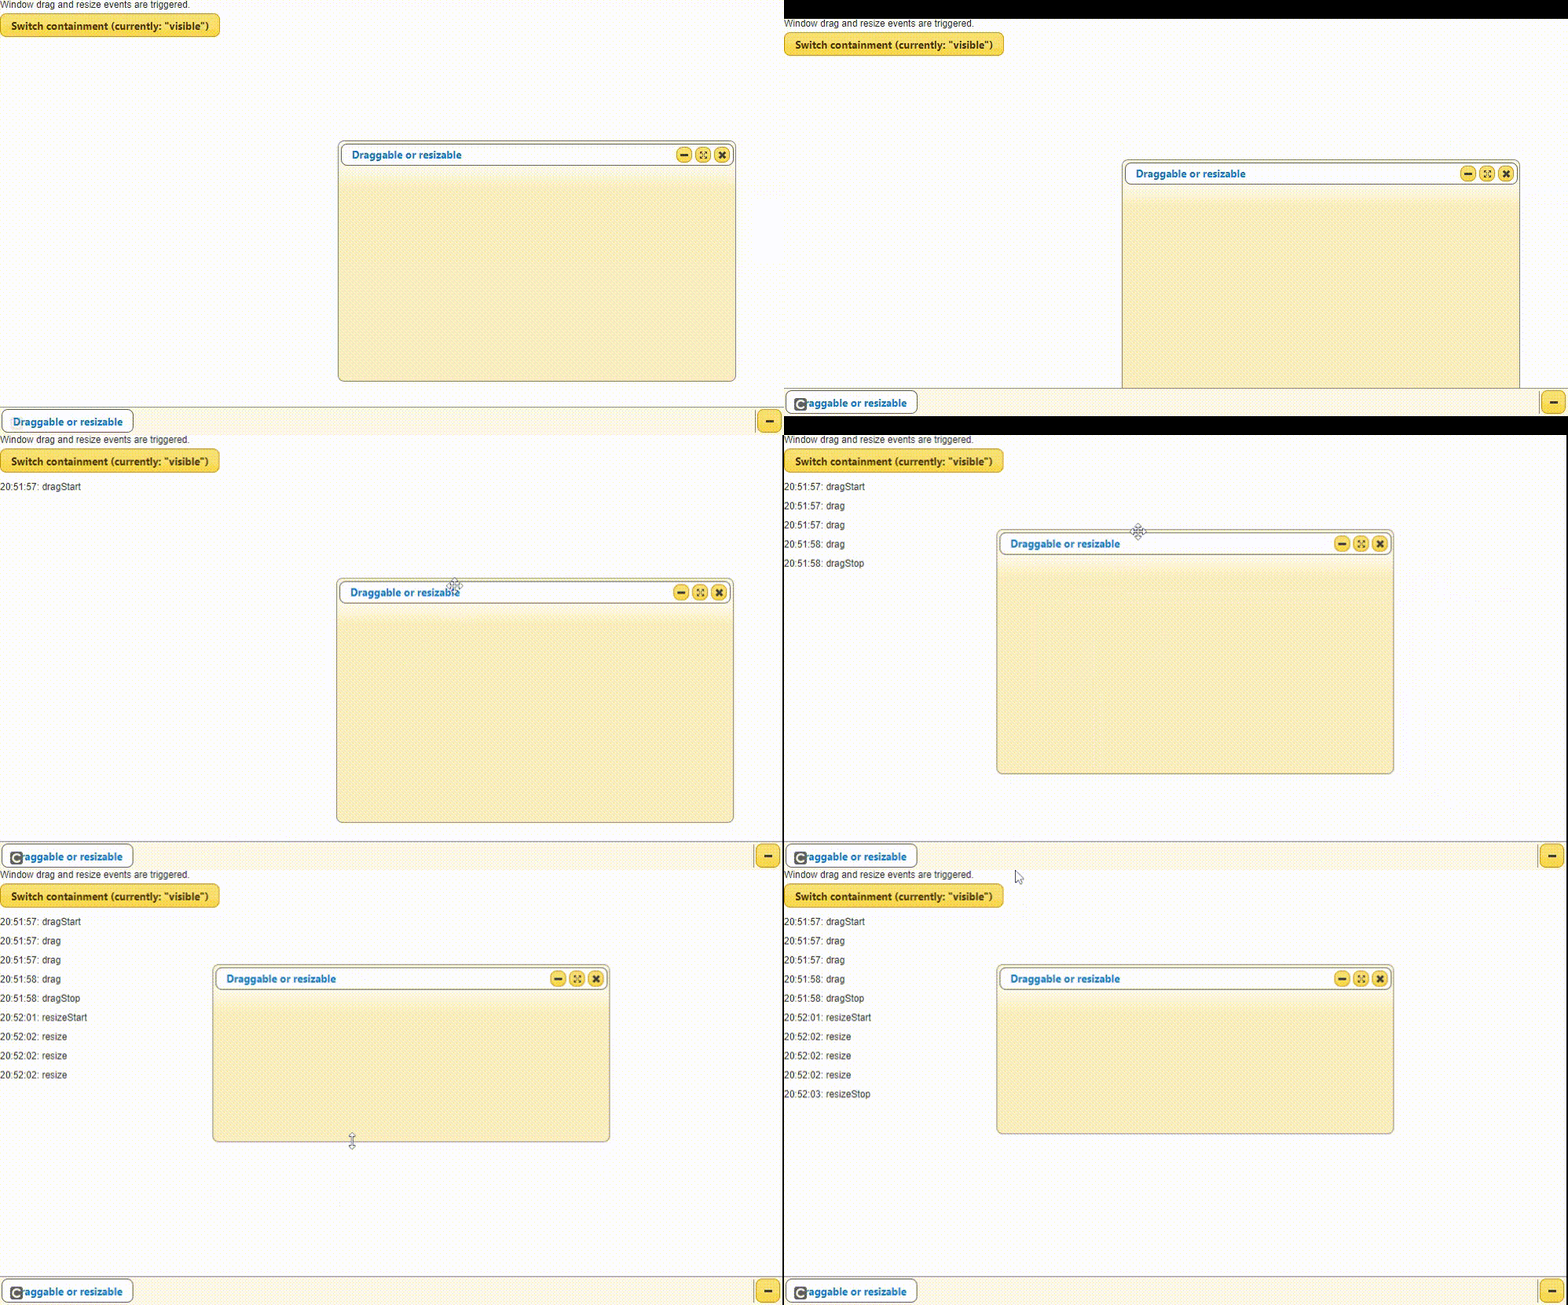
Пример 3: Следующий код демонстрирует происходящие взаимодействия окон, такие как события «перетаскивания» и «изменения размера».
HTML
<!DOCTYPE html>< html > < head > < meta charset = "UTF-8" > < script src = "../common/libs.js" ></ script ></ head > < body class = "no-top-bar" > < script class = "demo-js" > $(document).ready(function () { "use strict"; // Tnitialize taskbar and $(".taskbar").taskbar(); // Initialize window $(".window").window({ title: "Draggable or resizable", containment: "visible", width: 500, height: 300, // Logs all events dragStart: function (event, ui) { demo.log("dragStart"); }, drag: function (event, ui) { // Log drag event if (Math.random() < 0.05 ) { demo.log("drag"); } }, dragStop: function (event, ui) { // Logs event when the drag is stopped demo.log("dragStop"); }, resizeStart: function (event, ui) { demo.log("resizeStart"); }, resize: function (event, ui) { // Log resize event if (Math.random() < 0.05) { demo.log("resize"); } }, resizeStop: function (event, ui) { demo.log("resizeStop"); }, }); // Containment change value is saved $(".switch-containment").on("click", function () { var containment = $(".window") .window("option", "containment"); // When the value is toggled containment = containment === "viewport" ? "visible" : "viewport"; // Setting the new value $(".window").window("option", "containment", containment); // Button click value is set $(this).find("span.state") .text(""" + containment + """); }).button(); }); </script> < div class = "demo-html" > < div class = "taskbar" ></ div > < div class = "window" ></ div > < div class = "demo" > < div class = "description" > Window drag and resize events are triggered. </ div > < button class = "switch-containment" > Switch containment (currently: < span class = "state" >"visible"</ span >) </ button > < div class = "log" ></ div > </ div > </ div ></ body > </ html > |
Выход:

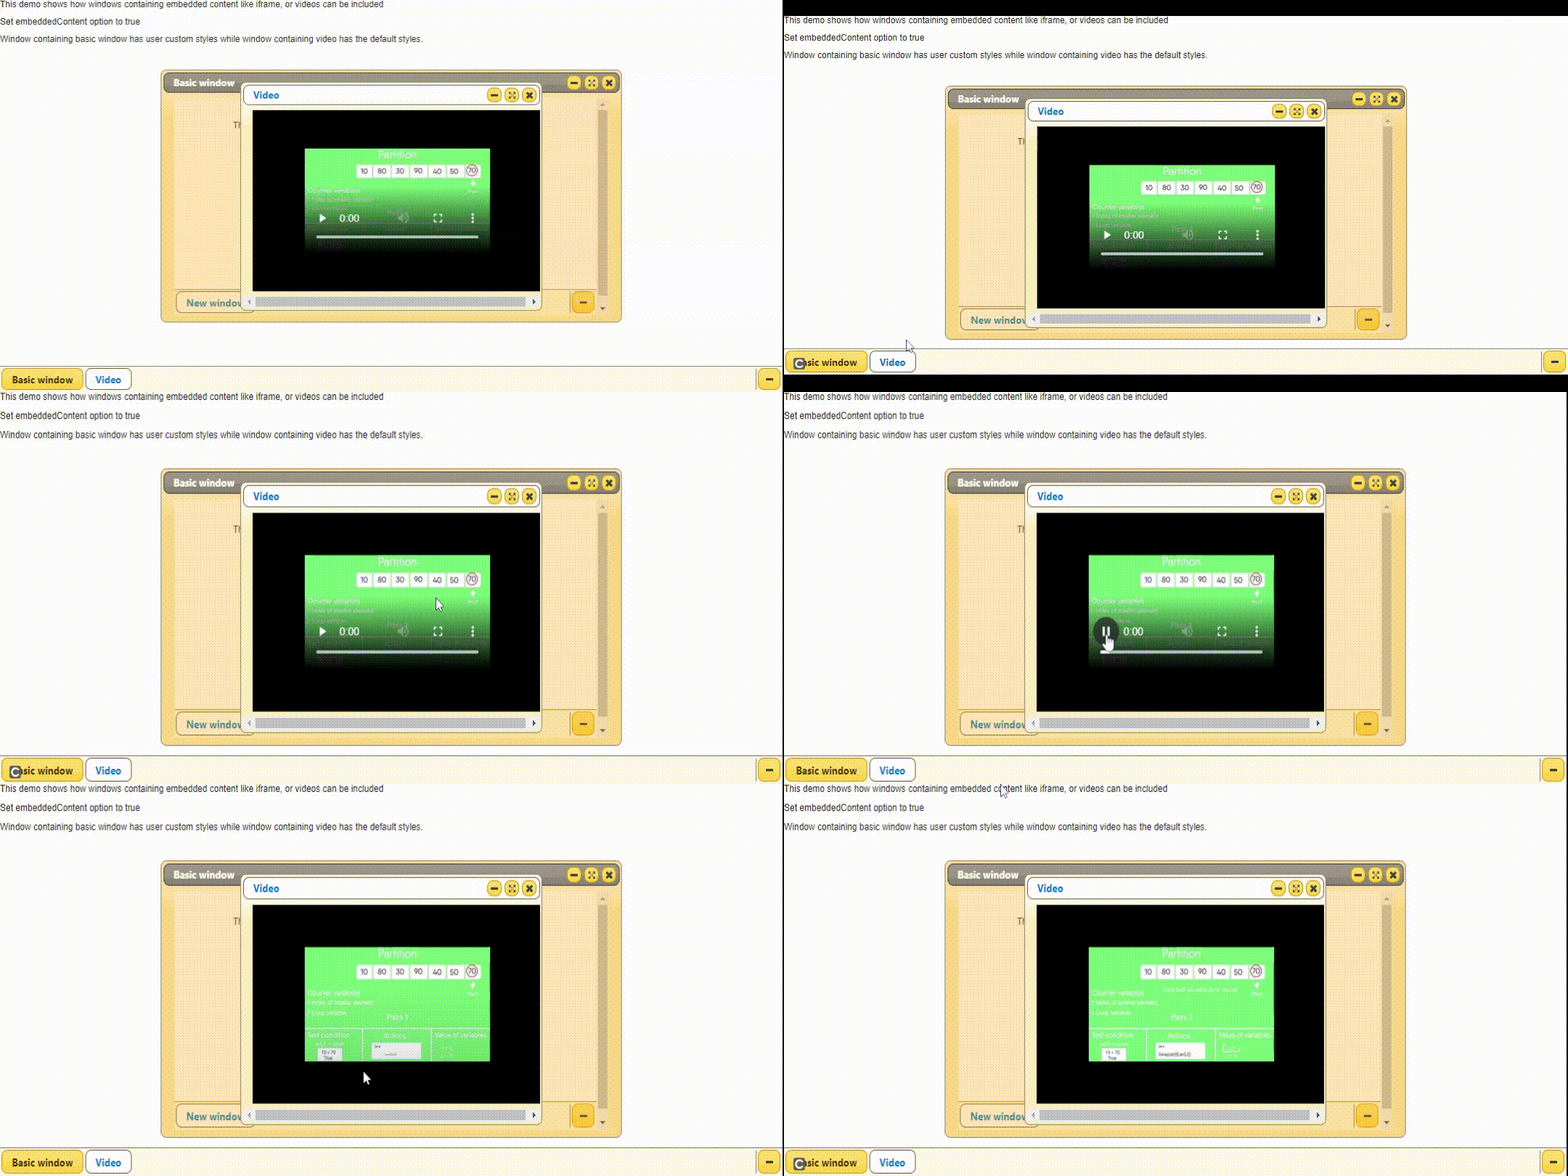
Пример 4: Следующий код демонстрирует встраивание видеоконтента в «iframe» окна.
HTML
<!DOCTYPE html>< html > < head > < meta charset = "UTF-8" > < script src = "../common/libs.js" ></ script ></ head > < body class = "no-top-bar" > < script class = "demo-js" > $(document).ready(function () { "use strict"; // Initialize taskbar $(".taskbar").taskbar(); // Initialize window with iframe // with the basic one $(".window-demo").window({ embeddedContent: true, // Widget class is needed for // applying styles to overlay widgetClass: "window-demo-widget", title: "Basic window", minWidth: 630, minHeight: 340 }); // Initialize window containing // desired video $(".window-youtube").window({ embeddedContent: true, title: "Video", minWidth: 410, minHeight: 250 }); }); </ script > < style class = "demo-css" > /* center the iframe and remove borders */ .simone-window-content iframe { display: block; margin: 0px auto; border: none; } /* Apply custom styles to overlay of window */ .window-demo-widget .simone-window-content-overlay { opacity: 0.3; background: orange; } </ style > < div class = "demo-html" > < div class = "taskbar" ></ div > < div class = "window-demo" > <!-- Embed the very first window in an iframe --> < iframe src = "mybasic.html" width = "600" height = "300" > </ iframe > </ div > < div class = "window-youtube" > <!-- Embed some mp4 or YouTube video --> < iframe src = "sampleVideo.mp4" width = "400" height = "250" > </ iframe > </ div > < div class = "demo" > < div class = "description" > This demo shows how windows containing embedded content like iframe, or videos can be included. < br >Set embeddedContent option to true< br >Window containing basic , >Window containing basic window has user custom styles while window containing video has the default styles. </ div > </ div > </ div ></ body > </ html > |
Выход:

Пример 5: Следующий код демонстрирует быстрое разворачивание окна и медленное сворачивание окна.
HTML
<!DOCTYPE html>< html > < head > < meta charset = "UTF-8" > < script src = "../common/libs.js" ></ script ></ head > < body class = "no-top-bar" > < script class = "demo-js" > $(document).ready(function () { "use strict"; // Initialize taskbar $(".taskbar").taskbar(); // Window with default options // initialized $(".window-default").window({ title: "Quick maximize" }); // Custom durations for animation $(".window-custom").window({ title: "My custom durations", durations: { maximize: 1100, minimize: 400, restore: false, show: "fast" } }); // "maximize" method with my // custom time duration $(".quick-maximize").on("click", function () { // 70 ms approx time is enough // for user to notice $(".window-custom") .window("maximize", 70); }).button(); // "minimize" method with my // custom time duration $(".slow-minimize").on("click", function () { // Slow for example like // 3.5 seconds $(".window-custom") .window("minimize", 3500); }).button();РЕКОМЕНДУЕМЫЕ СТАТЬИ |