Android Rotate анимация в Kotlin
Анимация поворота - это особый вид анимации в Android, который управляет вращением объекта. Этот тип анимации обычно используется разработчиками, чтобы дать пользователю почувствовать изменения, происходящие в приложении, такие как загрузка содержимого, обработка данных и т. Д. Используя эффект анимации поворота, объект можно повернуть в плоскости активности XY. и это позволяет вращение как по часовой стрелке, так и против часовой стрелки. 
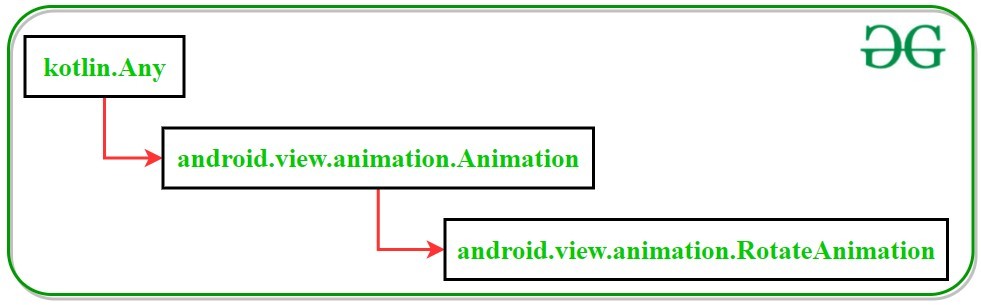
Иерархия классов RotateAnimation в Котлине
XML-атрибуты, определяющие вращение объекта
| Атрибуты XML | Описание |
|---|---|
| android: pivotX | Чтобы определить координату X точки, относительно которой вращается объект |
| android: pivotY | Чтобы определить координату Y точки, вокруг которой вращается объект |
| android: fromDegrees | Вращение объекта начинается с этого геометрического градуса. |
| android: toDegrees | Вращение объекта заканчивается на этом геометрическом градусе. |
| android: продолжительность | Используется для определения продолжительности анимации в миллисекундах |
| android: startOffset | Используется для задержки времени анимации в миллисекундах |
Подход
Этот пример демонстрирует шаги, необходимые для реализации анимации вращения по часовой стрелке и против часовой стрелки для файла изображения. Файл изображения будет добавлен в действие с помощью ImageView.
Note: The steps are performed on Android Studio version 4.0
Шаг 1. Создайте новый проект
- Щелкните Файл, затем Новый => Новый проект.
- Выберите язык как Kotlin.
- Выберите минимальный SDK в соответствии с вашими потребностями.
Шаг 2. Измените файл activity_main.xml
Ниже приведен код для activity_main.xml для добавления TextView, ImageView и 2 кнопок в действие.
activity_main.xml
<? xml version = "1.0" encoding = "utf-8" ?>< androidx.constraintlayout.widget.ConstraintLayout android:layout_width = "match_parent" android:layout_height = "match_parent" android:background = "#168BC34A" tools:context = ".MainActivity" > < TextView android:id = "@+id/textView" android:layout_width = "wrap_content" android:layout_height = "wrap_content" android:fontFamily = "@font/roboto" android:text = "@string/heading" android:textAlignment = "center" android:textColor = "@android:color/holo_green_dark" android:textSize = "36sp" android:textStyle = "bold" app:layout_constraintBottom_toBottomOf = "parent" app:layout_constraintEnd_toEndOf = "parent" app:layout_constraintStart_toStartOf = "parent" app:layout_constraintTop_toTopOf = "parent" app:layout_constraintVertical_bias = "0.050000012" /> < ImageView android:id = "@+id/imageView" android:layout_width = "243dp" android:layout_height = "241dp" app:layout_constraintBottom_toBottomOf = "parent" app:layout_constraintEnd_toEndOf = "parent" app:layout_constraintStart_toStartOf = "parent" app:layout_constraintTop_toBottomOf = "@+id/textView" app:layout_constraintVertical_bias = "0.19999999" app:srcCompat = "@drawable/logo" /> < Button android:id = "@+id/clk_rotate_button" android:layout_width = "wrap_content" android:layout_height = "wrap_content" android:background = "#AB4CAF50" android:fontFamily = "@font/roboto" android:text = "@string/clk_rotate_button_text" android:textSize = "14sp" android:textStyle = "bold" app:layout_constraintBottom_toBottomOf = "parent" app:layout_constraintEnd_toEndOf = "parent" app:layout_constraintHorizontal_bias = "0.12" app:layout_constraintStart_toStartOf = "parent" app:layout_constraintTop_toBottomOf = "@+id/imageView" app:layout_constraintVertical_bias = "0.7" /> < Button android:id = "@+id/anticlk_rotate_button" android:layout_width = "wrap_content" android:layout_height = "wrap_content" android:background = "#AB4CAF50" android:fontFamily = "@font/roboto" android:text = "@string/anticlk_rotate_button_text" android:textStyle = "bold" app:layout_constraintBottom_toBottomOf = "parent" app:layout_constraintEnd_toEndOf = "parent" app:layout_constraintHorizontal_bias = "0.78" app:layout_constraintStart_toEndOf = "@+id/clk_rotate_button" app:layout_constraintTop_toBottomOf = "@+id/imageView" app:layout_constraintVertical_bias = "0.7" /></ androidx.constraintlayout.widget.ConstraintLayout > |
Шаг 3. Определите файл XML для поворота изображения по часовой стрелке и против часовой стрелки.
Создайте новый каталог в папке res приложения и назовите его anim . В этом каталоге создайте 2 файла ресурсов анимации, а именно rotate_clockwise и rotate_anticlockwise . Эти 2 файла представляют собой XML-файл, в котором хранятся детали анимации. Ниже приведен код обоих файлов.
rotate_clockwise.xml
<? xml version = "1.0" encoding = "utf-8" ?> < rotate android:pivotX = "50%" android:pivotY = "50%" android:fromDegrees = "0" android:toDegrees = "360" android:duration = "2500" /> </ set > |
rotate_anticlockwise.xml
<? xml version = "1.0" encoding = "utf-8" ?> < rotate android:pivotX = "50%" android:pivotY = "50%" android:fromDegrees = "360" android:toDegrees = "0" android:duration = "2500" /> </ set > |
Шаг 4. Измените файл MainActivity.kt
Ниже приведен код MainActivity.kt для загрузки и запуска анимации в виджете ImageView в соответствии с кнопкой, нажатой пользователем.
MainActivity.kt
package com.example.androidrotateanimation import android.os.Bundleimport android.view.animation.AnimationUtilsimport android.widget.Buttonimport android.widget.ImageViewimport androidx.appcompat.app.AppCompatActivity class MainActivity : AppCompatActivity() { override fun onCreate(savedInstanceState: Bundle?) { super .onCreate(savedInstanceState) setContentView(R.layout.activity_main) // assigning id of button which rotates // the image in clockwise direction val clk_button: Button = findViewById(R.id.clk_rotate_button) // assigning id of button which rotates // the image in anti-clockwise direction val anticlk_button: Button = findViewById(R.id.anticlk_rotate_button) // assiging id of imageview // which is to be rotated val image: ImageView = findViewById(R.id.imageView) // actions to be performed when // "rotate clockwise" button is clicked clk_button.setOnClickListener() { // loading the animation of // rotate_clockwise.xml file into a variable val clk_rotate = AnimationUtils.loadAnimation( this , R.anim.rotate_clockwise ) // assigning that animation to // the image and start animation image.startAnimation(clk_rotate) } // actions to be performed when // "rotate anticlockwise" button is clicked anticlk_button.setOnClickListener() { // loading the animation of // rotate_anticlockwise.xml file into a variable val anticlk_rotate = AnimationUtils.loadAnimation( this , R.anim.rotate_anticlockwise ) // assigning that animation to // the image and start animation image.startAnimation(anticlk_rotate) } }} |
Шаг 5. Измените файл strings.xml
Все строки, которые используются в упражнении, перечислены в этом файле.
strings.xml
<resources> <string name= "app_name" >Android Rotate Animation</string> <string name= "heading" >Rotate Animation in Android</string> <string name= "clk_rotate_button_text" >Rotate Clockwise</string> <string name= "anticlk_rotate_button_text" >Rotate Anticlokwise</string></resources> |