Python OpenCV: отслеживание объектов с использованием гомографии
В этой статье мы пытаемся отследить объект на видео с уже приведенным в нем изображением. Мы также можем отслеживать объект на изображении. Прежде чем увидеть отслеживание объекта с помощью гомографии, дайте нам знать некоторые основы.
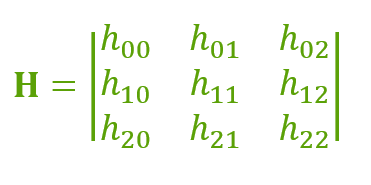
Что такое гомография?
Гомография - это преобразование, которое отображает точки в одной точке в соответствующую точку на другом изображении. Гомография представляет собой матрицу 3 × 3:
Если 2 точки не находятся в одной плоскости, мы должны использовать 2 омографа. Аналогично, для n плоскостей мы должны использовать n омографов. Если у нас есть больше омографов, нам нужно обработать их все должным образом. Вот почему мы используем сопоставление функций.
Импорт данных изображения: мы будем читать следующее изображение: 
Выше изображение - это титульная страница книги, хранящаяся как img.jpg.
# importing the required librariesimport cv2import numpy as np # reading image in grayscaleimg = cv2.imread("img.jpg", cv2.IMREAD_GRAYSCALE) # intializing web cam cap = cv2.VideoCapture(0) |
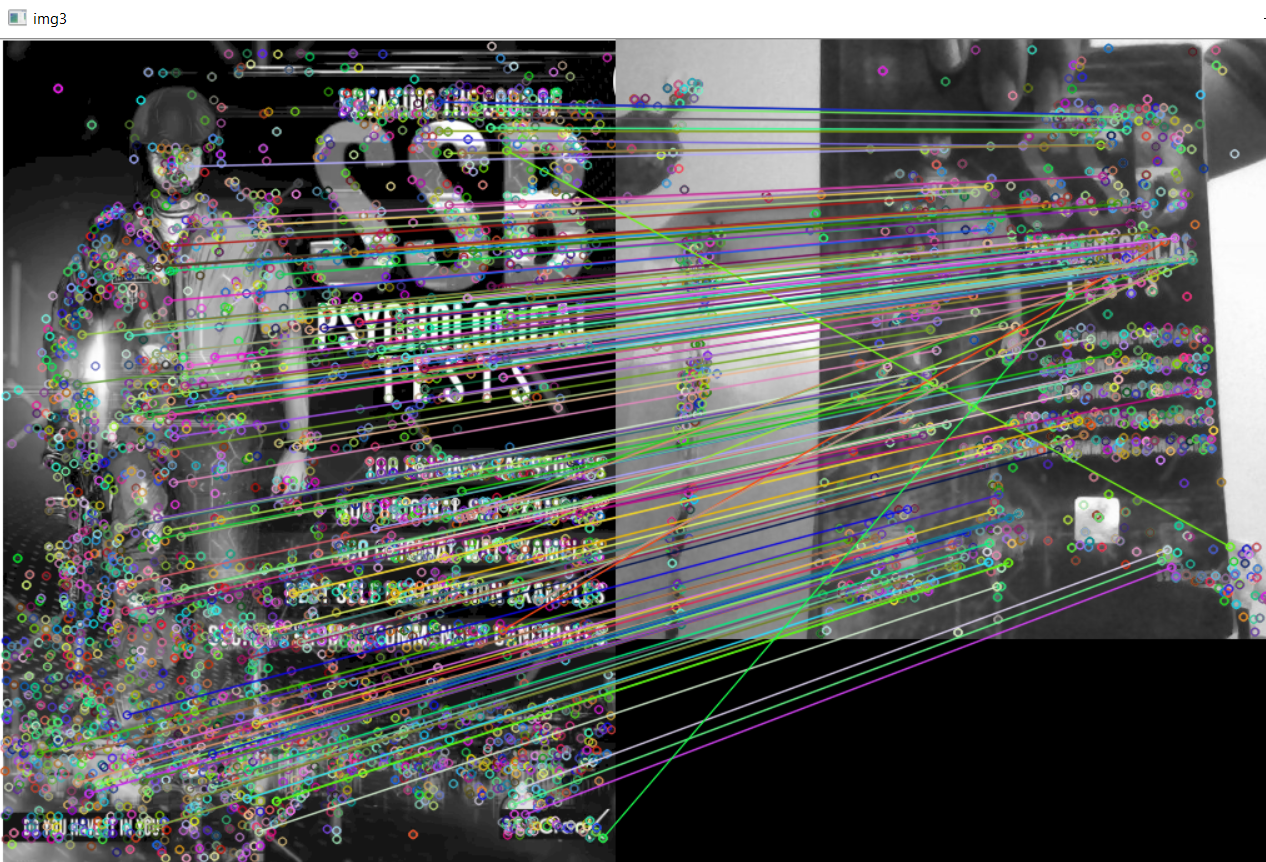
Feature Matching : Feature matching means finding corresponding features from two similar datasets based on a search distance. Now will be using sift algorithm and flann type feature matching.
# creating the SIFT algorithmsift = cv2.xfeatures2d.SIFT_create() # find the keypoints and descriptors with SIFTkp_image, desc_image =sift.detectAndCompute(img, None) # intializing the dictionaryindex_params = dict(algorithm = 0, trees = 5)search_params = dict() # by using Flann Matcherflann = cv2.FlannBasedMatcher(index_params, search_params) |
Now, we also have to convert the video capture into grayscale and by using appropriate matcher we have to match the points from image to the frame.
Here, we may face exceptions when we draw matches because infinitely there will we many points on both planes. To handle such conditions we should consider only some points, to get some accurate points we can vary the distance barrier.
# reading the frame _, frame = cap.read() # converting the frame into grayscalegrayframe = cv2.cvtColor(frame, cv2.COLOR_BGR2GRAY) # find the keypoints and descriptors with SIFTkp_grayframe, desc_grayframe = sift.detectAndCompute(grayframe, None) # finding nearest match with KNN algorithmmatches= flann.knnMatch(desc_image, desc_grayframe, k=2) # initialize list to keep track of only good pointsgood_points=[] for m, n in matches: #append the points according #to distance of descriptors if(m.distance < 0.6*n.distance): good_points.append(m) |
Homography : To detect the homography of the object we have to obtain the matrix and use function findHomography() to obtain the homograph of the object.
# maintaining list of index of descriptors# in query descriptorsquery_pts = np.float32([kp_image[m.queryIdx] .pt for m in good_points]).reshape(-1, 1, 2) # maintaining list of index of descriptors# in train descriptorstrain_pts = np.float32([kp_grayframe[m.trainIdx] .pt for m in good_points]).reshape(-1, 1, 2) # finding perspective transformation# between two planesmatrix, mask = cv2.findHomography(query_pts, train_pts, cv2.RANSAC, 5.0) # ravel function returns # contiguous flattened arraymatches_mask = mask.ravel().tolist() |
Everything is done till now, but when we try to change or move the object in another direction then the computer cannot able to find its homograph to deal with this we have to use perspective transform. For example, humans can see near objects larger than far objects, here perspective is changing. This is called Perspective transform.
# initializing height and width of the imageh, w = img.shape # saving all points in ptspts = np.float32([[0, 0], [0, h], [w, h], [w, 0]]) .reshape(-1, 1, 2) # applying perspective algorithmdst = cv2.perspectiveTransform(pts, matrix) |
At the end, lets see the output
# using drawing function for the framehomography = cv2.polylines(frame, [np.int32(dst)], True, (255, 0, 0), 3) # showing the final output # with homographycv2.imshow("Homography", homography) |
Output :
Attention geek! Strengthen your foundations with the Python Programming Foundation Course and learn the basics.
To begin with, your interview preparations Enhance your Data Structures concepts with the Python DS Course. And to begin with your Machine Learning Journey, join the Machine Learning – Basic Level Course