Подробное представление - представления на основе функций Django
Подробное представление относится к представлению (логике) для отображения определенного экземпляра таблицы из базы данных со всеми необходимыми деталями. Он используется для отображения нескольких типов данных на одной странице или для просмотра, например профиля пользователя. Django предоставляет необычную поддержку для подробных представлений, но давайте проверим, как это делается вручную с помощью функционального представления. Эта статья посвящена подробному представлению, которое включает такие концепции, как Django Forms, Django Models.
Для детального просмотра нам нужен проект с некоторыми моделями и несколькими экземплярами, которые будут отображаться.
Подробное представление Django - представления на основе функций
Illustration of How to create and use Detail view using an Example. Consider a project named geeksforgeeks having an app named geeks.
Refer to the following articles to check how to create a project and an app in Django.
- How to Create a Basic Project using MVT in Django?
- How to Create an App in Django ?
After you have a project and an app, let’s create a model of which we will be creating instances through our view. In geeks/models.py,
# import the standard Django Model# from built-in libraryfrom django.db import models # declare a new model with a name "GeeksModel"class GeeksModel(models.Model): # fields of the model title = models.CharField(max_length = 200) description = models.TextField() # renames the instances of the model # with their title name def __str__(self): return self.title |
After creating this model, we need to run two commands in order to create Database for the same.
Python manage.py makemigrations
Python manage.py migrate
Now let’s create some instances of this model using shell, run form bash,
Python manage.py shell
Enter following commands
>>> from geeks.models import GeeksModel
>>> GeeksModel.objects.create(
                       title="title1",
                       description="description1").save()
>>> GeeksModel.objects.create(
                       title="title2",
                       description="description2").save()
>>> GeeksModel.objects.create(
                       title="title3",
                       description="description3").save()
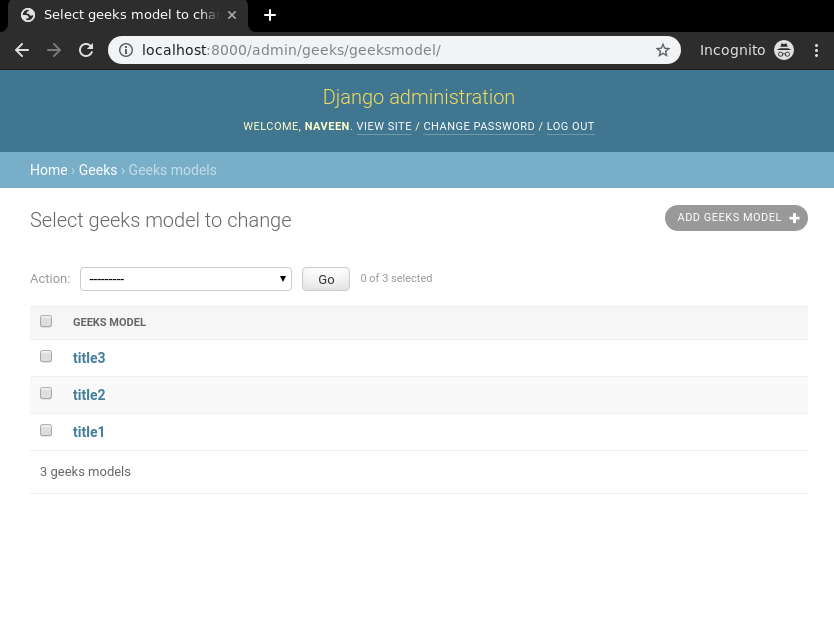
Now we have everything ready for back end. Verify that instances have been created from http://localhost:8000/admin/geeks/geeksmodel/

For detail_view one would need some identification to get a particular instance of the model. Usually it is unique primary key such as id. To specify this identification we need to define it in urls.py. Go to geeks/urls.py,
from django.urls import path # importing views from views..pyfrom .views import detail_view urlpatterns = [ path("<id>", detail_view ),] |
Let’s create a view and template for the same. In geeks/views.py,
from django.shortcuts import render # relative import of formsfrom .models import GeeksModel # pass id attribute from urlsdef detail_view(request, id): # dictionary for initial data with # field names as keys context ={} # add the dictionary during initialization context["data"] = GeeksModel.objects.get(id = id) return render(request, "detail_view.html", context) |
Create a template in templates/Detail_view.html,
<div class="main"> <!-- Specify fields to be displayed --> {{ data.title }}<br/> {{ data.description }}<br/> </div> |
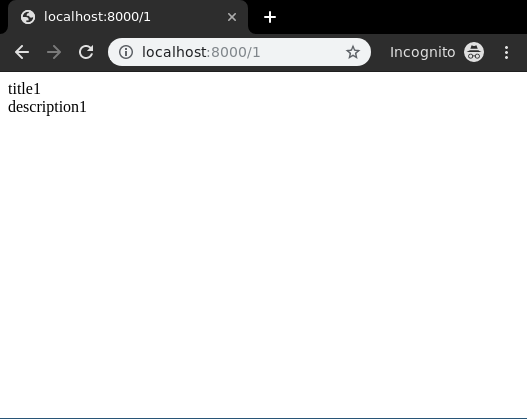
Let’s check what is there on http://localhost:8000/1
Bingo..!! Detail view is working fine. One can also display selected fields according to type of usage required in multiple forms. Often it is not the id which is used to define the detail view it is the slug. To know more about slug and SlugField visit – Add the slug field inside Django Model
Attention geek! Strengthen your foundations with the Python Programming Foundation Course and learn the basics.
To begin with, your interview preparations Enhance your Data Structures concepts with the Python DS Course. And to begin with your Machine Learning Journey, join the Machine Learning – Basic Level Course