Node.js NPM ShortTd Module
NPM (Node Package Manager) - это менеджер пакетов Node.js. Существует пакет NPM под названием «shorttid», используемый для создания коротких непоследовательных уникальных идентификаторов, удобных для URL. По умолчанию он использует 7–14 символов, удобных для URL: AZ, az, 0–9, _-. Он поддерживает кластер (автоматически), настраиваемые семена, настраиваемый алфавит. Он может генерировать любое количество идентификаторов без дублирования.
Команда для установки:
npm установить шорттид
Синтаксис для импорта пакета в локальный файл -
const shorttid = требовать ('shorttid')Синтаксис для создания уникального идентификатора
const newId = shorttid.generate ()
В модулях shorttid определены методы для создания уникальных идентификаторов и их настройки. некоторые из методов проиллюстрированы ниже.
shorttid.generate () - используется для создания уникального идентификатора.
Пример:
 users.insert ({
  _id: shorttid.generate (),
  имя: '...',
  Эл. адрес: '...'
});
shorttid.isValid (id) - используется для проверки, действителен ли id.
Пример:
 shorttid.isValid ('41GHDbE');
// правда
shorttid.isValid ('у меня есть пробелы');
// ложный
shorttid.characters (characters) - используется для настройки идентификаторов.
Пример:
 shorttid.characters ('ⒶⒷⒸⒹⒺⒻⒼⒽⒾⒿⓀⓁⓃⓄⓅⓆⓇⓈⓉ'
+ 'ⓊⓋⓌⓍⓎⓏⓐⓑⓒⓓⓔⓕⓖⓗⓘⓙⓚⓛⓜⓝⓞⓟⓠⓡⓢⓣⓤⓥ'
+ 'Ⓦⓧⓨⓩ①②③④⑤⑥⑦⑧⑨⑩⑪⑫');
Пример 1. В этом примере показано, как сгенерировать и использовать пакет shorttid для создания уникальных идентификаторов.
filename-index.js: этот файл содержит всю логику для создания короткого идентификатора, присоединения к нему информации о пользователе и сохранения в базе данных.
const express = require("express")const bodyParser = require("body-parser")const shortid = require("shortid")const formTemplet = require("./form")const repo = require("./repository") const app = express()const port = process.env.PORT || 3000 // The body-parser middleware to parse form dataapp.use(bodyParser.urlencoded({extended : true})) // Get route to display HTML formapp.get("/", (req, res) => { res.send(formTemplet({}))}) // Post route to handle form submission logic and app.post("/", (req, res) => { // Fetching user inputs const {name, email} = req.body // Creating new unique id const userId = shortid.generate() // Saving record to the database // with attaching userid to each record repo.create({ userId, name, email }) res.send("Information submitted!")}) // Server setupapp.listen(port, () => { console.log(`Server start on port ${port}`)}) |
filename - repository.js: этот файл содержит всю логику для создания базы данных и взаимодействия с ней.
// Importing node.js file system moduleconst fs = require( 'fs' ) class Repository { constructor(filename) { // Filename where data are going to store if (!filename) { throw new Error('Filename is required to create a datastore!' ) } this .filename = filename try { fs.accessSync( this .filename) } catch (err) { // If file not exist it is created // with empty array fs.writeFileSync( this .filename, '[]' ) } } // Get all existing records async getAll(){ return JSON.parse( await fs.promises.readFile( this .filename, { encoding : 'utf8' }) ) } // Create new record async create(attrs){ // Fetch all existing records const records = await this .getAll() // All the existing records with new // record push back to database records.push(attrs) await fs.promises.writeFile( this .filename, JSON.stringify(records, null , 2) ) return attrs }} // The 'datastore.json' file created// at runtime and all the information// provided via signup form store in// this file in JSON format.module.exports = new Repository( 'datastore.json' ) |
filename - form.js: этот файл содержит всю логику для рендеринга формы.
module.exports = ({errors}) => { return `<!DOCTYPE html><html> <head> <link rel= 'stylesheet' href= <style> div.columns { margin-top: 100px; } .button { margin-top: 10px } </style></head> <body> <div class= 'container' > <div class= 'columns is-centered' > <div class= 'column is-5' > <form action= '/' method= 'POST' > <div> <div> <label class= 'label' id= 'str' > Name </label> </div> <input class= 'input' type= 'text' name= 'name' placeholder= 'Name' for = 'name' > </div> <div> <div> <label class= 'label' id= 'email' > Email </label> </div> <input class= 'input' type= 'email' name= 'email' placeholder= 'Email' for = 'email' > </div> <div> <button class= 'button is-info' > Submit </button> </div> </form> </div> </div> </div></body> </html> `} |
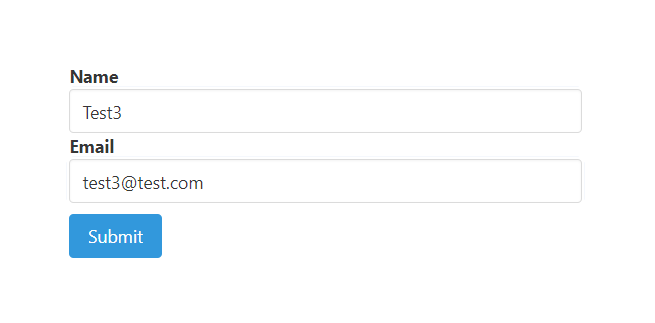
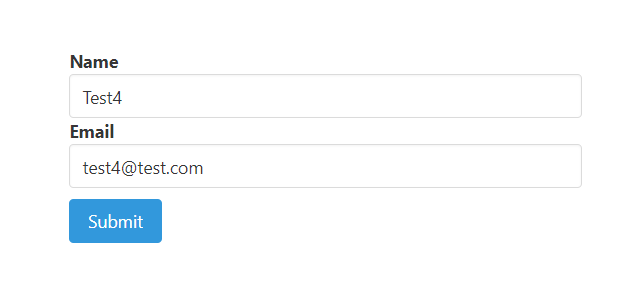
Выход:
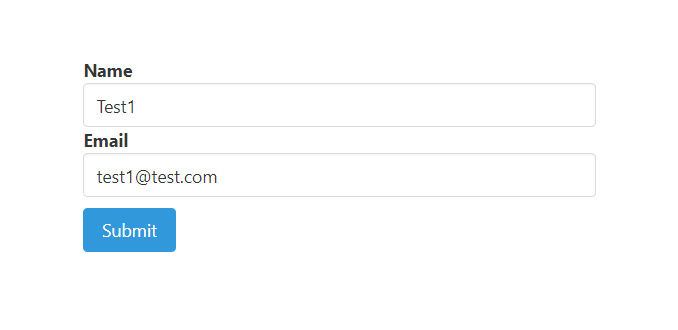
Отправка информации1

Отправка информации2
Отправка информации3
База данных:

База данных после подачи информации
Пример 2: В этом примере показано, как настроить и использовать пакет shorttid для создания уникальных идентификаторов.
filename-index.js: этот файл содержит всю логику для создания короткого идентификатора, присоединения к нему информации о пользователе и сохранения в базе данных.
const express = require( 'express' )const bodyParser = require( 'body-parser' )const shortid = require( 'shortid' )const formTemplet = require( './form' )const repo = require( './repository' ) const app = express()const port = process.env.PORT || 3000 // The body-parser middleware to parse form dataapp.use(bodyParser.urlencoded({extended : true })) // Get route to display HTML formapp.get( '/' , (req, res) => { res.send(formTemplet({}))}) // Post route to handle form// submission logic andapp.post( '/' , (req, res) => { // Fetching user inputs const {name, email} = req.body // Customising id creation shortid.characters( 'ⒶⒷⒸⒹⒺⒻⒼⒽⒾ' + 'ⒿⓀⓁⓜⓃⓄⓅⓆⓇⓈⓉⓊⓋⓌⓍⓎⓏ' + 'ⓐⓑⓒⓓⓔⓕⓖⓗⓘⓙⓚⓛⓜⓝⓞⓟⓠ' + 'ⓡⓢⓣⓤⓥⓦⓧⓨⓩ①②③④⑤⑥⑦⑧⑨⑩⑪⑫' ) // Creating new unique id const userId = shortid.generate() // Saving record to the database // with attaching userid to each record repo.create({ userId, name, email }) res.send( 'Information submitted!' )}) // Server setupapp.listen(port, () => { console.log(`Server start on port ${port}`)}) |
filename - repository.js: этот файл содержит всю логику для создания базы данных и взаимодействия с ней.
// Importing node.js file system moduleconst fs = require( 'fs' ) class Repository { constructor(filename) { // Filename where data are going to store if (!filename) { throw new Error('Filename is required to create a datastore!' ) } this .filename = filename try { fs.accessSync( this .filename) } catch (err) { // If file not exist it is // created with empty array fs.writeFileSync( this .filename, '[]' ) } } // Get all existing records async getAll(){ return JSON.parse( await fs.promises.readFile( this .filename, { encoding : 'utf8' }) ) } // Create new record async create(attrs){ // Fetch all existing records const records = await this .getAll() // All the existing records with new // record push back to database records.push(attrs) await fs.promises.writeFile( this .filename, JSON.stringify(records, null , 2) ) return attrs }} // The 'datastore.json' file created// at runtime and all the information// provided via signup form store in// this file in JSON formet.module.exports = new Repository( 'datastore.json' ) |
filename - form.js: этот файл содержит всю логику для рендеринга формы
const getError = (errors, prop) => { try { return errors.mapped()[prop].msg } catch (error) { return '' }} module.exports = ({errors}) => { return `<!DOCTYPE html><html> <head> <link rel= 'stylesheet' href= <style> div.columns { margin-top: 100px; } .button { margin-top: 10px } </style></head> <body> <div class= 'container' > <div class= 'columns is-centered' > <div class= 'column is-5' > <form action= '/' method= 'POST' > <div> <div> <label class= 'label' id= 'str' > Name </label> </div> <input class= 'input' type= 'text' name= 'name' placeholder= 'Name' for = 'name' > </div> <div> <div> <label class= 'label' id= 'email' > Email </label> </div> <input class= 'input' type= 'email' name= 'email' placeholder= 'Email' for = 'email' > </div> <div> <button class= 'button is-info' > Submit </button> </div> </form> </div> </div> </div></body> </html> `} |
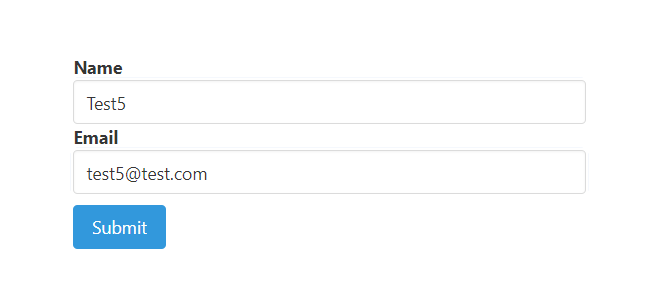
Выход:
Отправка информации1
Отправка информации 2

Отправка информации 3
База данных:

База данных после подачи информации
Примечание. Мы использовали несколько классов Bulma в файле form.js для разработки нашего контента.