Межпроцессное взаимодействие (IPC) в ElectronJS
ElectronJS используется для создания кроссплатформенных приложений Native Desktop с использованием веб-технологий, таких как HTML , CSS и JavaScript, которые могут работать в операционных системах Windows, macOS и Linux. Он объединяет движок Chromium и NodeJS в единую среду выполнения. Несколько известных проектов с открытым исходным кодом, таких как Visual Studio Code, Slack, Atom, Postman и Brave Browser, разработаны с использованием Electron.
Электрон можно разделить на два основных процесса:
- Основной процесс
- Процесс рендеринга
IPC в Electron: один главный процесс может иметь несколько процессов рендеринга. Каждый процесс рендеринга можно рассматривать как новую вкладку в браузере. В этом руководстве мы обсудим, как Electron взаимодействует между этими процессами с помощью межпроцессного взаимодействия (IPC) . Electron предоставляет нам два модуля IPC для связи между процессами,
- ipcMain: этот модуль используется для обмена данными между основным процессом и процессами рендеринга. Он определен и используется в основном процессе. Он обрабатывает все синхронные и асинхронные сообщения, отправляемые процессом рендеринга.
- ipcRenderer: этот модуль используется для связи процессов рендерера с основным процессом. Он определен и используется в процессах рендеринга. Он предоставляет возможность отправлять сообщения и получать сообщения от основного процесса, синхронно и асинхронно.
Настоятельно рекомендуется не выполнять тяжелые вычисления в процессах рендеринга, чтобы приложение не замедлилось в производительности и не стало более ресурсоемким. Вместо этого мы должны использовать IPC для распределения этих задач по основному процессу и позволить главному процессу обрабатывать любые тяжелые вычисления в приложении. Между синхронной передачей данных и асинхронной передачей данных в IPC есть три основных различия:
- Метод ipc.send () используется для асинхронной передачи данных, тогда как для синхронной передачи данных вместо него используется метод ipc.sendSync ().
- Нам нужно специально реализовать функцию обратного вызова для обработки ответа, поступающего от основного процесса при асинхронной передаче данных. В случае синхронной передачи данных нам не нужно реализовывать функцию обратного вызова, поскольку метод ipc.sendSync () вернет данные.
- В Основной процесс (файл main.js), метод win.webContents.send () используется для асинхронной передачи данных. Его можно заменить методом event.returnValue () для синхронной передачи данных.
Примечание. В этом руководстве также предполагается, что вы знакомы с предварительными условиями, описанными в вышеупомянутой ссылке.
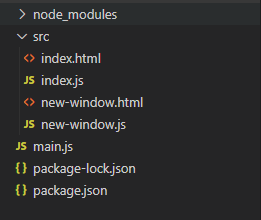
Структура проекта: начнем со строительных блоков Учебника,
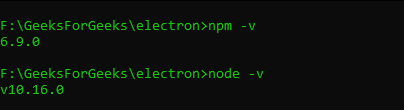
- Шаг 1. Проверьте, установлены ли node и npm . Если нет, то посетите следующие разделы:
- Установка Node.js в Windows
- Установка Node.js в Linux
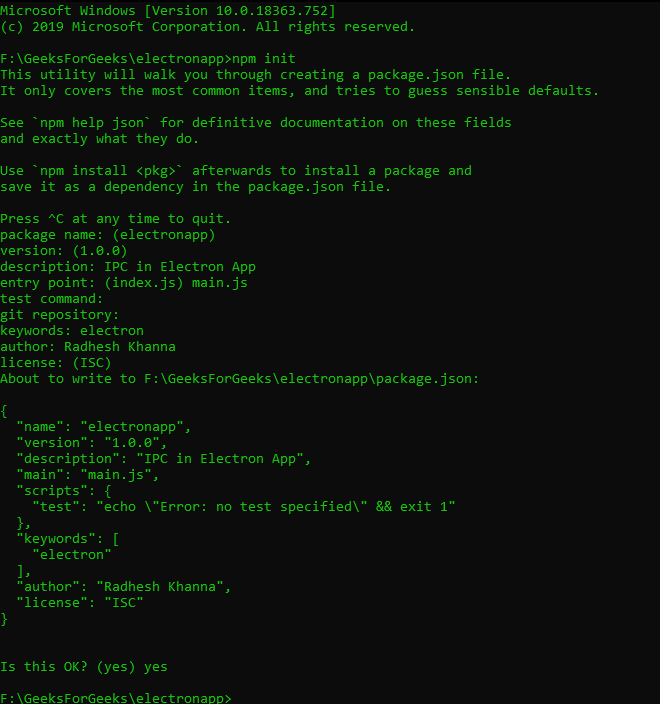
- Шаг 2: перейдите в пустой каталог, чтобы настроить проект, и выполните следующую команду,
npm init
Следуйте инструкциям по созданию файла package.json.
- Шаг 3: Убедитесь, что Electron установлен, если нет, то установите его сейчас.
- Шаг 4: Создайте файл main.js в соответствии со структурой проекта. Этот файл является основным процессом и действует как точка входа в приложение.
const { app, BrowserWindow } = require('electron')let win;functioncreateWindow() {// Create the browser window.win =newBrowserWindow({width: 800,height: 600,webPreferences: {nodeIntegration:true}})// and load the index.html of the app.win.loadFile('src/index.html')// Open the DevTools.// win.webContents.openDevTools()//Quit app when main BrowserWindow Instance is closedwin.on('closed',function() {app.quit();});}// This method will be called when the Electron has finished// initialization and is ready to create browser windows.// Some APIs can only be used after this event occurs.app.whenReady().then(createWindow)// Quit when all windows are closed.app.on('window-all-closed', () => {// On macOS it is common for applications and their menu bar// to stay active until the user quits explicitly with Cmd + Qif(process.platform !=='darwin') {app.quit()}})app.on('activate', () => {// On macOS it's common to re-create a window in the app when the// dock icon is clicked and there are no other windows open.if(BrowserWindow.getAllWindows().length === 0) {createWindow()}}) - Шаг 5: Создайте файл index.html в каталоге src. Index.html отображается в отдельном процессе файлом main.js при запуске приложения. Каждый процесс рендеринга также может иметь свой собственный связанный файл CSS и JavaScript.
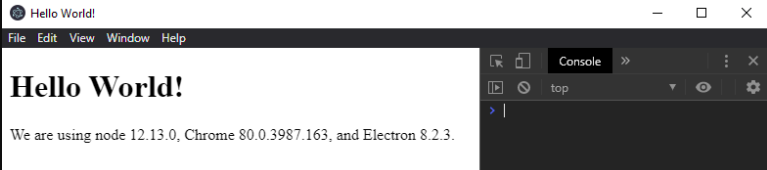
В index.html<!DOCTYPE html><html><head><metacharset="UTF-8"><title>Hello World!</title><metahttp-equiv="Content-Security-Policy"content="script-src 'self' 'unsafe-inline';"/></head><body><h1>Hello Geeks!</h1><div>We are using node<script>document.write(process.versions.node)</script>, Chrome<script>document.write(process.versions.chrome)</script>, and Electron<script>document.write(process.versions.electron)</script>.</div><scriptsrc="index.js"></script></body></html> - Шаг 6: Чтобы запустить приложение Electron, запустите команду, «start» - это сценарий, который мы определили в файле package.json.
npm start
- Выход:
Асинхронная передача данных: поскольку мы настроили приложение Basic Electron, давайте определим новый BrowserWindow который будет отображать новую веб-страницу. Эта новая веб-страница будет файлом new-window.html. Затем мы реализуем асинхронный IPC для обмена данными между файлом new-window.html и файлом index.html . 
<!DOCTYPE html>< html lang = "en" >< head > < meta charset = "UTF-8" > < title >New Window</ title > < meta http-equiv = "Content-Security-Policy" content = "script-src 'self' 'unsafe-inline';" /></ head >< body > < div >New Window Opened !</ div > < br > < input type = "text" > < button id = "submit" >Pass Value to Main Window</ button > < script src = "new-window.js" ></ script ></ body ></ html > |
script < h3 >Aynschronous Message Sending</ h3 >< div > Value Received From Renderer Process - < span id = "value" ></ span ></ div >< br >< button id = "new" > Click Me to Open New Window</ button > |
const electron = require( 'electron' )const path = require( 'path' )// BrowserWindow Instance is a part of the Main Process,// To fetch its instance from the Main Process,// Use electron.remoteconst BrowserWindow = electron.remote.BrowserWindow var update = document.getElementById( 'value' );var button = document.getElementById( 'new' ); button.addEventListener( 'click' , function (event) { // Linking to new-window.html let win = new BrowserWindow({ // To display the Default Frame of the Window // consisting of default Menu frame: true , // Makes the Renderer Window Sticky, // Will always stay on top despite focus change alwaysOnTop: true , width: 600, height: 400, webPreferences: { nodeIntegration: true } }); // Destroy the BrowserWindow Instance on close win.on( 'close' , function () { win = null ; }); // win.webContents.openDevTools(); win.loadURL(newPath); win.show();}); |
Чтобы передать данные из тега «input» в new-window.html в index.html с помощью асинхронного IPC, выполните следующие действия:
- Шаг 1. В файле new-window.js
const electron = require('electron')const remote = electron.remote;// Import the ipcRenderer Module from Electronconst ipc = electron.ipcRenderer;varinput = document.querySelector('input');varsubmit = document.getElementById('submit');// Adding Click EventListener to the Buttonsubmit.addEventListener('click',function() {console.log(input.value);// Calling the ipcRenderer.send()// To send the value from the input tag with// a Unique Key to the main process// Asynchronouslyipc.send('update-value', input.value);remote.getCurrentWindow().close();}); - Шаг 2:
ipcMainмодуль ipcMain из файла main.js в файл main.js.const ipcMain = require ('электрон'). ipcMainДобавьте в конец файла следующее:
// Responsible for Communication of data from Main// process to the Renderer Process// Received the value send from the new-window.js file// Identifies the data passed based on the Key// Which was set in the ipc.send() method in new-window.js fileipcMain.on('update-value',function(event, arg) {console.log(arg);// Passing the data from Main Process to index.html// BrowserWindow Instance, value will be received in// the index.js based on the Key set here. Using the// 'win.webContents.send' method for Asynchronous Data Transferwin.webContents.send('updateValue', arg);}); - Шаг 3.
ipcRendererмодуль ipcRenderer из файла index.js в файл.const ipc = electronic.ipcRenderer;
Добавьте в конец файла следующее:
// Using the ipcRenderer.on() method// Implementing the Callback Function for Asynchronous IPC,// To receive the data based on the key set in the main.js fileipc.on('updateValue',function(event, arg) {console.log(arg);// Updating the value of the HTML Tag with the Data Received// In Case the Data Received is not a Number and is// some arbitary Value,display will show as NaN (Not a Number)update.innerHTML = Number(arg);}); - Результат: мы успешно реализовали асинхронный IPC.
Синхронная передача данных: теперь мы реализуем синхронный IPC между основным процессом и процессом рендеринга и визуализируем различия между ними, как описано выше.
- Шаг 1. В файле index.html добавьте следующий код сразу после тега кнопки и перед тегом скрипта.
<br><h3>Synchronous Message Sending</h3><div>Value Received From Main Process -<spanid="received"></span></div><br><buttonid="send">Click Me for Synchronous Message</button> - Шаг 2. Кнопка «Щелкните меня, чтобы получить синхронное сообщение» не имеет связанных с ней функций. Мы добавим
EventListenerк кнопке, добавив следующий код в файл index.js.varreceived = document.getElementById('received')varbutton2 = document.getElementById('send');// Adding Click EventListener to button2// For Synchronous Message Transfer we are using the 'ipc.sendSync' method// We do not need to Implemented any Callbacks to handle the Response// The 'ipc.sendSync' method will return the data from the Main Processbutton2.addEventListener('click',function(event) {// Setting the Key and the Message to be sent to the Main Processconst data = ipc.sendSync('synchronous','Message to Main Window');// Setting the Data received to the <span> tagreceived.innerHTML = data;}); - Шаг 3. В файле main.js добавьте следующий код в конец файла:
ipcMain.on('synchronous', (event, arg) => {// Using this method instead of 'win.webContents.send'// for Synchronous Message Transfer// The Value of arg = 'Message to Main Window'// In case we do not use 'event.returnValue', We will// get the following Error// 'Uncaught Error: Unable to deserialize cloned data due to// invalid or unsupported version.'event.returnValue ='Synchronous Message Sent';}); - Выход: