Как скользить вниз по странице после окончания видео с помощью JavaScript?
Дана веб-страница, и задача состоит в том, чтобы запустить слайдер только после того, как видео закончится с помощью JavaScript.
Синтаксис
В HTML:
<video onended="myScript">
В JavaScript:
1. Использование пользовательской функции:
video.onended=function(){myScript};2. Используя метод addEventListener():
video.addEventListener("ended", myScript);Пример:
Javascript
var video = document.getElementById("GFG");video.onended = function() { alert("The video has ended now");}; |
Теперь, что касается нашей необходимой функциональности, мы используем это событие для запуска следующего слайда только после того, как видео закончилось.
Алгоритм:
- Напишите HTML-часть веб-страницы, а также добавьте видео.
- При необходимости добавьте стили с помощью CSS или любой из интерфейсных библиотек.
- Получите элемент по его селектору, классу или идентификатору в JavaScript и используйте события DOM onplaying и onending для выполнения слайда только после окончания видео.
Шаги:
Шаг 1: Напишите HTML-разметку и добавьте элемент видео в свой HTML-файл.
index.html
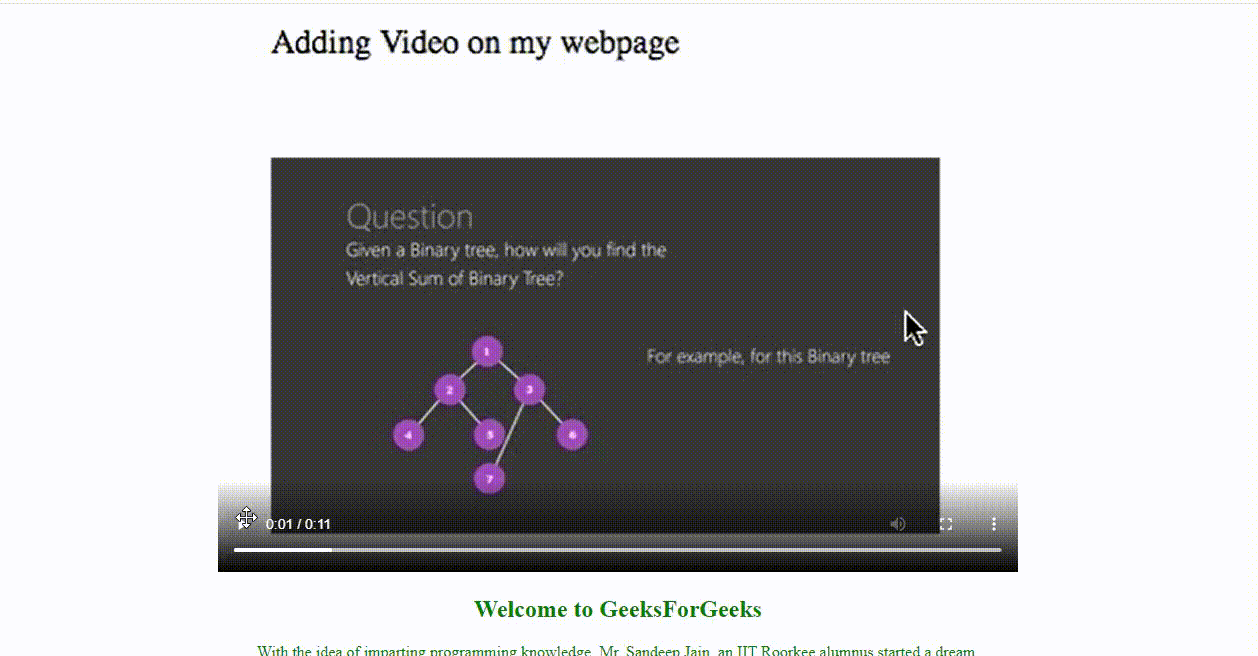
<!DOCTYPE html><html> <body> <video id="Vid" width="320" height="176" controls> <source src= type="video/mp4"> Your browser does not support HTML5 video. </video> <div> <h2 id="next">Welcome to GeeksForGeeks</h2> <p class="text"> With the idea of imparting programming knowledge, Mr. Sandeep Jain, an IIT Roorkee alumnus started a dream, GeeksforGeeks. Whether programming excites you or you feel stifled, wondering how to prepare for interview questions or how to ace data structures and algorithms, GeeksforGeeks is a one-stop solution. With every tick of time, we are adding arrows in our quiver. From articles on various computer science subjects to programming problems for practice, from basic to premium courses, from technologies to entrance examinations, we have been building ample content with superior quality. In a short span, we have built a community of 1 Million+ Geeks around the world, 20,000+ Contributors and 500+ Campus Ambassadors in various colleges across the nation. Our success stories include a lot of students who benefitted in their placements and landed jobs at tech giants. Our vision is to build a gigantic network of geeks and we are only a fraction of it yet. </p> <p class="text"> With the idea of imparting programming knowledge, Mr. Sandeep Jain, an IIT Roorkee alumnus started a dream, GeeksforGeeks. Whether programming excites you or you feel stifled, wondering how to prepare for interview questions or how to ace data structures and algorithms, GeeksforGeeks is a one-stop solution. With every tick of time, we are adding arrows in our quiver. From articles on various computer science subjects to programming problems for practice, from basic to premium courses, from technologies to entrance examinations, we have been building ample content with superior quality. In a short span, we have built a community of 1 Million+ Geeks around the world, 20,000+ Contributors and 500+ Campus Ambassadors in various colleges across the nation. Our success stories include a lot of students who benefitted in their placements and landed jobs at tech giants. Our vision is to build a gigantic network of geeks and we are only a fraction of it yet. </p> </div></body> </html> |
Здесь я использовал элемент видео и исходный элемент HTML, чтобы сделать его точным и управляемым. Я использовал стоковое видео для справки здесь.
Шаг 2: Добавление стиля в файл CSS (или любой другой по вашему выбору).
style.css
/* Increasing the size of video element */#Vid { height: 35rem; width: 50rem;} /* Aligning the content and text and adding really basic styling */body { align-items: center; text-align: center; color: green;} |
CSS является полностью персонализированным и необязательным, и мы можем добавить стили по своему вкусу.
Шаг 3: Добавьте JavaScript, чтобы страница могла скользить или прокручиваться только после окончания видео.
- Мы добавляем функцию автовоспроизведения в наше видео, чтобы видео воспроизводилось для пользователя, как только он входит на страницу. Хорошей практикой является отключение звука видео, если оно находится в режиме автозапуска. В моем видео нет звука, поэтому я его не использовал.
- Мы скрываем скроллер страницы, поэтому не позволяем странице скользить или прокручиваться во время воспроизведения видео с помощью функции onplaying JavaScript и свойства переполнения CSS.
- Наконец, мы добавляем наш последний, но самый важный фрагмент кода. Мы используем встроенную функцию JavaScript, удаляем скрытое свойство overflow, используем функцию scrollIntoView() в JavaScript.
Код JavaScript:
Javascript
var v = document.getElementById("Vid");v.autoplay = true;v.load();v.onplaying = function() { document.body.style.overflow = "hidden";}; // Executes only when the video endsv.onended = function() { // Enabling the scroller document.body.style.overflow = ""; // Scrolling to the next element by // linking to its Id document.getElementById("next").scrollIntoView();}; |
Здесь мы убираем свойство переполнения и включаем скроллер, когда видео перестает воспроизводиться, а также прокручиваем до следующего элемента.
Окончательный код: вот полный HTML-код для всего этого.
Выход: